Introduction to USB Webcams
USB webcams have become integral tools in today’s digital landscape, primarily due to their versatility and user-friendly interface. These devices, which connect directly to computers and laptops via USB ports, facilitate a wide array of applications, including video conferencing, streaming, and content creation. As remote work and virtual communication have surged, the demand for high-quality webcams has similarly increased, making them essential for both professional and personal use.
The advantages of using USB webcams are numerous. They offer real-time video and audio capabilities that enhance communication through platforms like Zoom, Skype, and Microsoft Teams. Additionally, for content creators, USB webcams serve as reliable options for live streaming on platforms such as Twitch and YouTube. Their versatility allows users to produce high-definition video content without the need for complex setups, making them accessible to beginners and seasoned professionals alike.
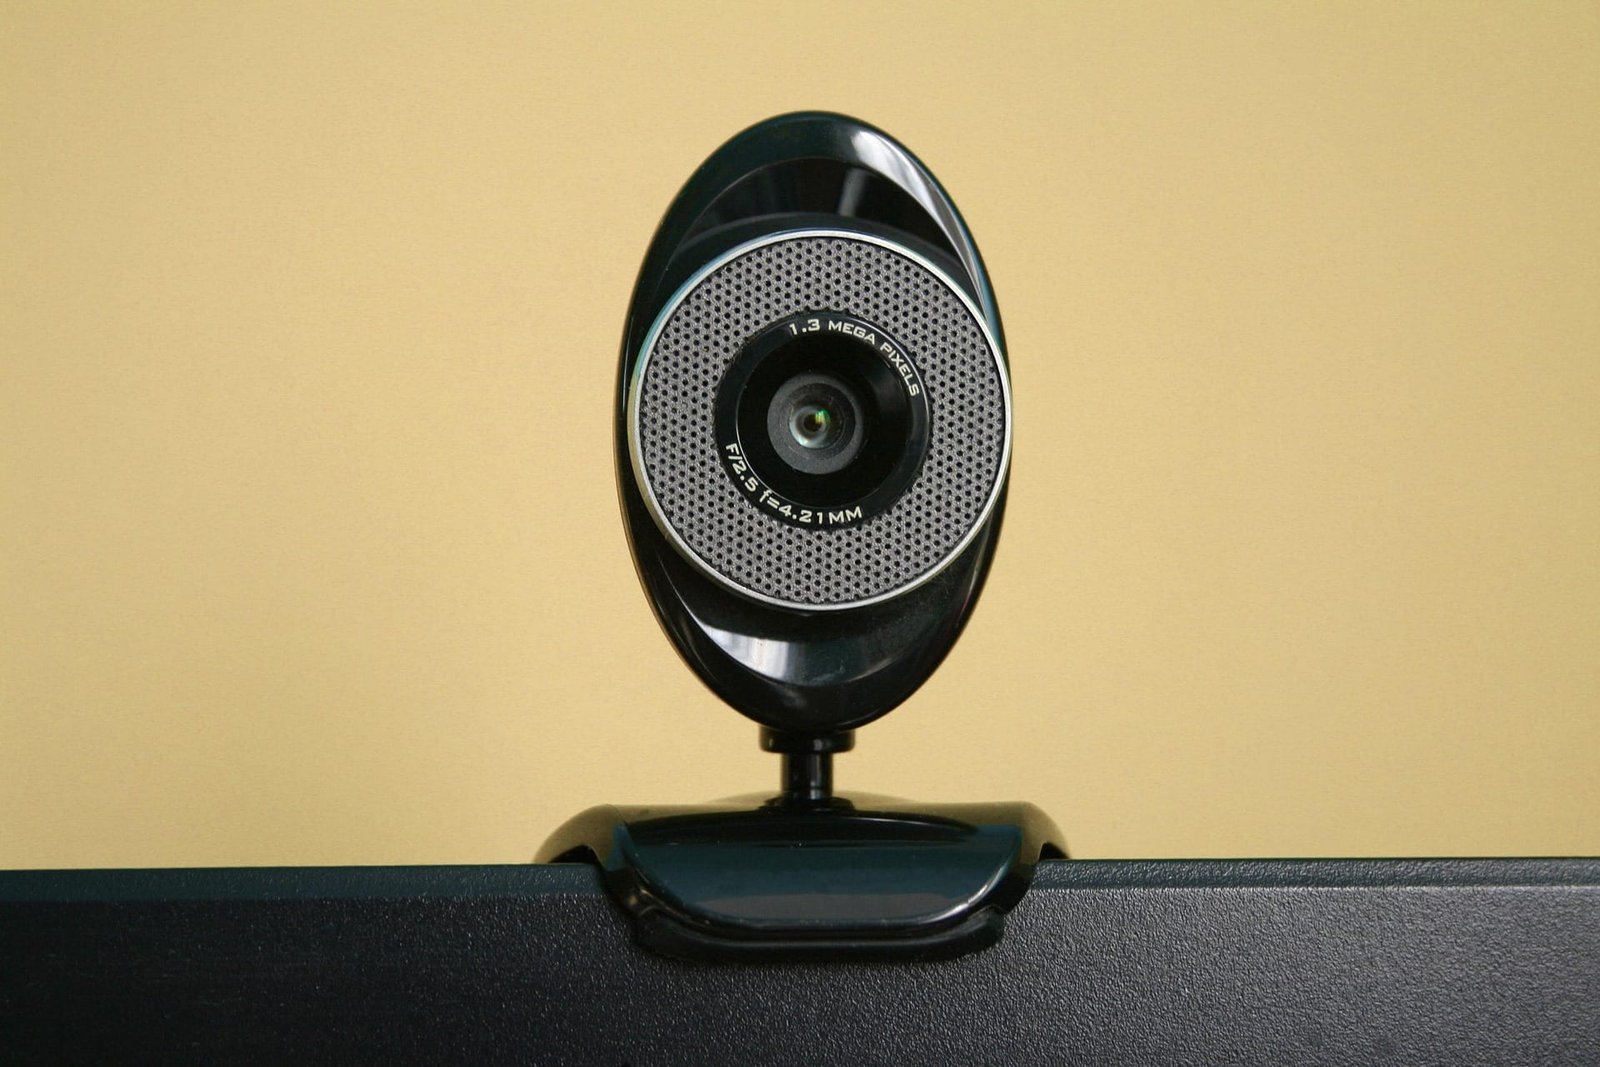
From a technical standpoint, a typical USB webcam consists of several critical components. These include the lens, image sensor, microphone, and the housing that protects the internal parts. The lens focuses light onto the image sensor, which converts it into digital signals. The microphone captures sound, thus enabling effective communication. Most webcams feature built-in compatibility with various operating systems, ensuring a seamless setup process. Users generally need to connect the webcam to their device’s USB port, and the operating system will automatically detect it, often necessitating minimal configuration.
As we continue through this guide, we will delve deeper into the setup process, troubleshooting tips, and how to maximize the performance of your USB webcam. Understanding these aspects will help users leverage their webcams more effectively in both professional and personal contexts.
Step-by-Step Guide to Setting Up Your USB Webcam
Setting up a USB webcam is a straightforward process that typically requires just a few steps. Begin by unboxing your new webcam. Ensure you have the necessary components, including the webcam itself, a USB cable (if not integrated), and any additional accessories that may come with it, such as a tripod or clip. After you have your equipment ready, proceed to connect the webcam to your computer using the USB cable. Most webcams are designed to be plug-and-play, meaning they should be automatically detected once connected.
Next, for Windows users, the operating system generally installs the necessary drivers automatically. However, to ensure optimal functioning, you may want to visit the manufacturer’s website to download any specific drivers or software that enhance the webcam’s performance. For macOS users, similar steps apply; simply connect the webcam, and macOS should recognize it promptly. In some cases, you may need to adjust the privacy settings under System Preferences to allow applications to access the webcam.
Once the webcam is connected, check if it is recognized by your operating system. On Windows, navigate to the Device Manager and look under “Imaging devices” to confirm the webcam is listed. On macOS, you can test it by opening an application such as Photo Booth or Skype. If the webcam does not appear, it may be necessary to troubleshoot connection issues, which often includes checking cable connections or trying different USB ports.
To finalize the setup, once your webcam is recognized, consider optimizing the settings for better clarity and resolution. Most webcam software allows you to adjust parameters such as brightness, contrast, and resolution. By tailoring these settings, you can enhance your video quality. Following these steps will ensure your USB webcam is fully operational and ready for use in various applications, such as video calls or streaming.
Common Issues and Troubleshooting Tips
When setting up a USB webcam, users may encounter several common issues that can hinder performance. Understanding these problems and their solutions is essential to ensure a seamless experience. One frequent issue is the webcam not being recognized by the computer. This problem often arises due to a faulty USB port or damaged cable. Users should first check the connections and, if necessary, try different USB ports. Additionally, ensuring that the drivers for the webcam are up to date can resolve the recognition issue.
Poor image quality is another prevalent concern. Factors contributing to this problem may include insufficient lighting or incorrect camera settings. To improve image quality, users should reposition their lighting sources to ensure uniform illumination and adjust the camera settings via the software interface provided by the webcam manufacturer. Basic settings like resolution and frame rates should be tailored to the users’ requirements to achieve optimal clarity.
Audio issues can also arise, impacting the overall experience of video calls. In many cases, the problem can stem from incorrect audio input settings. Users should navigate to audio settings on their respective devices and ensure that the webcam is selected as the default audio device. Conducting a mic test to confirm functional audio can help identify any defects in the hardware.
Lastly, software compatibility issues may arise, particularly when using older video conferencing applications. To mitigate this, users should check for software updates and ensure compatibility with the operating system and webcam. Most webcam manufacturers provide troubleshooting guides to aid in the resolution of these issues. By addressing these common problems, users can enhance their USB webcam setup experience and minimize frustration.
Conclusion and Best Practices
Properly setting up a USB webcam is crucial for ensuring optimal performance during video communication. The significance of a reliable webcam cannot be overstated, especially with the increasing reliance on remote interactions for both personal and professional purposes. As users invest in technology designed to enhance their experience, understanding best practices becomes essential for maintaining the equipment’s efficiency.
One of the key practices is to keep the webcam’s software up to date. Manufacturers frequently release updates to improve functionality and address any security vulnerabilities. Regular checks for these updates on the manufacturer’s website or through automatic notifications can significantly benefit your overall experience. Moreover, ensuring that your webcam drivers are installed correctly will also enhance compatibility with various operating systems and video applications.
Maintaining a clean lens is another fundamental practice that affects video quality. Dust and smudges can easily accumulate on the lens, leading to blurry images and impaired performance. A simple solution is to use a microfiber cloth specifically designed for electronic devices to gently clean the lens periodically. This habit not only preserves image quality but also extends the webcam’s lifespan.
Additionally, managing privacy settings is critical to protect your personal information and ensure a secure connection. Familiarize yourself with the webcam’s features to adjust settings according to your preferences, including disabling the camera when not in use. This proactive approach safeguards against unauthorized access and enhances your confidence during video calls.
By following these best practices and remaining vigilant about potential issues, users can troubleshoot effectively and maintain their USB webcams in optimal condition. Ultimately, a well-maintained webcam is a vital asset for seamless and uninterrupted video communication, allowing you to connect with others efficiently.